
The Honeywell TH5220D1003 is a non-programmable digital thermostat, widely documented with available installation manuals since 2013․
Numerous online resources, like ManualsLib and thermostat․guide, offer detailed guides for installation and operation of this reliable heating system controller․
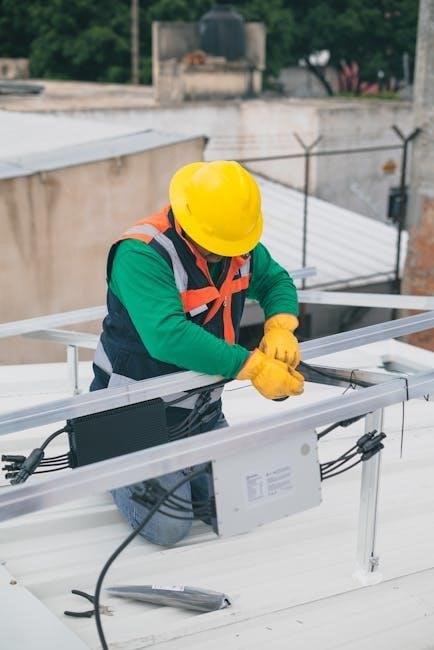
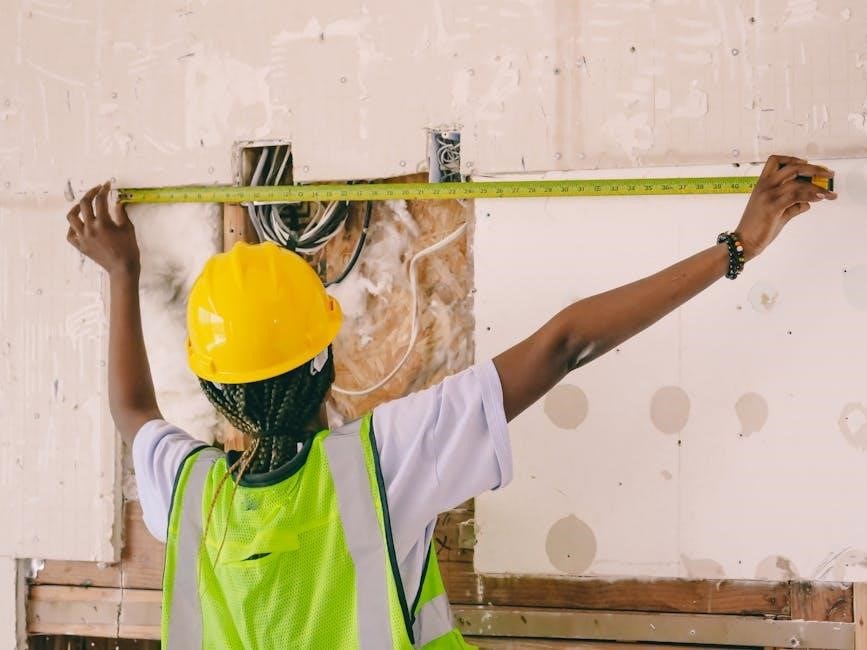
This thermostat requires professional installation by a trained technician, ensuring safe and effective operation within your home’s HVAC system․
Overview of the TH5220D1003 Model
The Honeywell TH5220D1003 is a non-programmable, digital communicating thermostat designed for straightforward heating control․ Installation manuals, readily available online since December 2013, detail its simple operation and wiring requirements․
This model, part of the FocusPRO 5000 Series, prioritizes ease of use, offering essential heating functions without complex programming․ It’s crucial to note that professional installation is required, as emphasized in installation guides;
The TH5220D1003 is a dependable choice for maintaining consistent temperatures, backed by comprehensive documentation for installers and homeowners alike․
Key Features and Benefits
The Honeywell TH5220D1003 boasts simplicity and reliability as core benefits․ Its non-programmable design ensures easy operation, eliminating the need for complex scheduling․ Detailed installation manuals provide clear wiring diagrams and setup instructions for qualified technicians․
Key features include accurate temperature control and compatibility with various heating systems․ The readily available documentation, like guides on thermostat․guide, streamlines the installation process․
Ultimately, this thermostat offers a cost-effective and user-friendly solution for maintaining comfortable home temperatures․

Safety Precautions
Installation must be performed by a trained, experienced technician to avoid hazards․ Always disconnect power before wiring, and adhere to all electrical safety guidelines․
Refer to the manual for critical warnings and ensure proper wiring material with a 105C temperature rating is used․
Important Safety Guidelines
Prior to installation, carefully read all instructions and warnings within the Honeywell TH5220D1003 manual․ Disconnect power to the HVAC system at the breaker box before commencing any wiring work to prevent electrical shock․
This thermostat is designed for indoor use only․ Do not expose it to direct sunlight, extreme temperatures, or moisture․ Improper installation can lead to system malfunction or hazardous conditions․
Always verify compatibility with your existing HVAC system and adhere to local electrical codes․ If unsure, consult a qualified HVAC professional for assistance․
Electrical Safety Warnings
Disconnect power at the breaker box before beginning any wiring connections to avoid potential electrical shock or damage to the HVAC system․ All wiring must adhere to local and national electrical codes․
Utilize wiring rated for a minimum temperature of 105°C, as specified in the installation manual, to prevent overheating and potential fire hazards․ Improper wiring can void the product warranty․
If you are uncomfortable working with electrical wiring, immediately consult a qualified and licensed HVAC technician for safe and correct installation․
Qualified Technician Installation Requirement
The Honeywell TH5220D1003 thermostat must be installed by a trained, experienced HVAC technician to ensure proper functionality and adherence to safety regulations․ Attempting self-installation is strongly discouraged․
A qualified technician possesses the necessary expertise in electrical wiring, HVAC systems, and thermostat configuration to avoid potential hazards and guarantee optimal performance․
Incorrect installation can lead to system malfunctions, safety risks, and void the product’s warranty․ Professional installation ensures a reliable and efficient heating control system․
Unpacking and Inspection
Carefully unpack the TH5220D1003 thermostat and verify all components are present․ Inspect for any shipping damage before proceeding with installation․
Retain the packaging for potential returns or warranty claims, ensuring a smooth installation process from the start․
Package Contents Checklist
Ensure your Honeywell TH5220D1003 package includes the following items before beginning installation․ You should find one TH5220D1003 Non-Programmable Digital Thermostat unit itself, alongside a dedicated mounting baseplate for secure wall attachment․
Additionally, verify the inclusion of installation screws and wall anchors, crucial for a stable and lasting setup․ A detailed installation guide, providing step-by-step instructions, is also essential․ Finally, confirm the presence of wire labels to aid in correct wiring identification during the process․
Checking for Damage During Shipping
Upon receiving your Honeywell TH5220D1003 thermostat, carefully inspect the packaging for any visible signs of damage incurred during shipping․ Look for dents, punctures, or crushing that could indicate internal component compromise․
Once the packaging appears intact, cautiously open the box and examine the thermostat unit and all included components․ Verify no cracks, loose parts, or other physical defects are present․ If damage is detected, immediately contact the seller or Honeywell support․

Installation Preparation
Before beginning, gather necessary tools and identify existing wiring․ Crucially, always turn off power to the HVAC system at the breaker for safety․
Proper preparation, referencing the installation guide, ensures a smooth and secure installation of your Honeywell TH5220D1003 thermostat․
Tools Required for Installation
For a successful installation of the Honeywell TH5220D1003, several tools are essential․ A small flathead screwdriver is needed for terminal block access and wire connections․
A Phillips head screwdriver will secure the thermostat base to the wall․ Wire strippers are crucial for preparing the thermostat wires, ensuring clean connections․
A level ensures the thermostat is mounted straight for accurate readings․ A voltage tester verifies power is off before wiring․ Finally, a pencil is useful for marking wiring locations and the baseplate․
Identifying Existing Wiring
Before disconnecting the old thermostat, carefully label each wire connected to its terminals․ Note the wire colors and their corresponding terminal designations – R, W, Y, G, C, etc․
Take a clear photograph of the existing wiring as a reference during the TH5220D1003 installation․
This documentation is vital, especially if you encounter any confusion during the wiring process․ Proper identification prevents incorrect connections and ensures your heating system functions correctly post-installation․
Turning Off Power to the HVAC System
Crucially, before beginning any wiring work, completely disconnect power to your heating and cooling system at the breaker box․ Locate the circuit breaker controlling the HVAC system and switch it to the “OFF” position․
Double-check with a non-contact voltage tester to confirm that no power is reaching the thermostat wires․
This safety precaution prevents electrical shock and ensures a safe installation environment․ Ignoring this step poses a serious risk of injury․
Wiring the Thermostat
Detailed wiring diagrams are essential for connecting the TH5220D1003 to heating systems, requiring careful attention to terminal designations and wire colors․
Ensure proper connections for conventional systems, referencing the installation guide for accurate wiring configurations․
Detailed Wiring Diagram
The TH5220D1003 installation manual provides a crucial wiring diagram illustrating terminal connections for various heating systems․ Carefully identify the Rh, Rc, W, G, and C terminals, matching them to your existing wiring․
Common wiring configurations include connections for gas, oil, or electric heat, alongside provisions for a common (C) wire for consistent power․ Always verify wire colors against the diagram, and use appropriately sized wiring rated for at least 105°C․
Incorrect wiring can damage the thermostat or HVAC system, so double-check all connections before restoring power․
Connecting to Heating Systems
The TH5220D1003 manual details connections for gas, oil, and electric heating systems․ Ensure the heating system’s power is off before wiring․ Connect the ‘W’ terminal to the heating system’s control wire, initiating heat calls․
For gas or oil systems, the ‘G’ terminal connects to the blower motor․ Electric heat requires specific wiring based on voltage; consult the manual carefully․ A ‘C’ wire is often needed for reliable operation, providing constant power to the thermostat․
Verify all connections before restoring power․
Connecting to Conventional Systems
The TH5220D1003 manual outlines connections for conventional heating and cooling systems․ Typically, ‘R’ connects to 24VAC power, ‘W’ to heating, ‘Y’ to cooling, and ‘G’ to the fan․ A common wire (‘C’) is crucial for consistent power, especially with newer systems․
If a ‘C’ wire isn’t present, an adapter may be necessary․ Ensure proper wire gauge (minimum 18 AWG) and secure connections․ Double-check wiring against the existing thermostat’s configuration before power-up․
Incorrect wiring can damage the system․
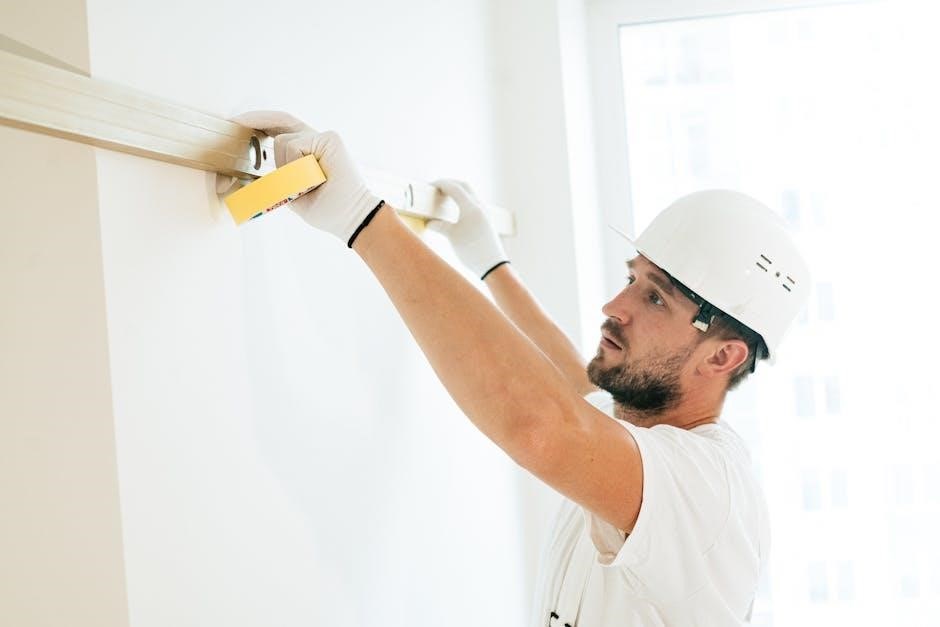
Thermostat Mounting
The TH5220D1003 baseplate secures to the wall, avoiding direct sunlight or drafts․ Ensure a level installation for accurate readings, as detailed in the installation guide․
The display then attaches to the base, completing the physical installation process․
Mounting Location Considerations
Selecting the right location is crucial for accurate temperature sensing with the TH5220D1003․ Avoid areas exposed to direct sunlight, drafts from doors or windows, or near heat-generating appliances․
An interior wall is generally best, representing the average room temperature․ Do not mount the thermostat in a hallway or near stairways where temperature fluctuations are common․
Ensure the location is easily accessible for adjustments and battery changes, and is at a typical eye level for convenient operation․ Proper placement optimizes performance and user experience․
Securing the Thermostat Base
After identifying the mounting location, carefully position the thermostat baseplate against the wall․ Use a level to ensure it’s perfectly straight for a professional appearance and accurate operation․
Mark the screw holes with a pencil, then pre-drill pilot holes if necessary, especially for hard surfaces․ Use the provided screws to securely fasten the baseplate to the wall․
Ensure the base is firmly attached, preventing any movement or instability․ A secure base is essential for proper thermostat function and long-term reliability․
Attaching the Thermostat Display
Once the base is securely mounted, carefully align the thermostat display with the baseplate․ Gently push the display onto the base, ensuring it clicks firmly into place․
Verify a snug fit; the display should be flush with the base and not wobble․ Avoid excessive force, which could damage the connection points․
Confirm proper alignment of the display screen for optimal visibility․ A secure attachment ensures reliable operation and prevents accidental disconnections․

Initial Setup and Configuration
After installation, power on the TH5220D1003․ Set the correct date and time, then configure the system type using Function 12, choosing Manual or Auto changeover․
Powering On the Thermostat
Once the wiring is complete and the thermostat display is securely attached, the TH5220D1003 is ready for initial power-up․ Restore power to the HVAC system at the breaker panel․ The thermostat display should illuminate, initiating the startup sequence․
If the display remains blank, double-check all wiring connections and ensure the power supply is active․ A lack of power often indicates a wiring issue or a tripped circuit breaker․ Refer to the installation guide for troubleshooting steps․
Setting the Date and Time
After powering on, accurately setting the date and time is crucial for proper thermostat operation․ Access the settings menu, typically through the ‘Menu’ or ‘Set’ button, as detailed in the installation manual․ Navigate to the date and time adjustment options․
Use the up and down arrow buttons to adjust the year, month, day, hour, and minute․ Confirm each setting to save the changes․ Correct date and time ensure accurate system scheduling and functionality․
System Type Configuration (Function 12)
Function 12, within the installer setup, configures the system type – crucial for correct operation․ Access this function via the thermostat’s menu, following the manual’s instructions․ You can select between ‘Manual’ or ‘Auto’ changeover․
Note that the TH5220D1003 cannot be set to ‘Cool’ mode․ Carefully choose the setting appropriate for your HVAC system․ Incorrect configuration will lead to improper heating and potentially system malfunction, so double-check your selection․
Understanding the Display and Controls
The TH5220D1003 features clear display icons indicating system status․ Simple button operation allows temperature adjustments and mode selection, as detailed in the user manual․
Display Icons and Indicators
The Honeywell TH5220D1003 utilizes several display icons to communicate system status effectively․ A flame icon indicates the heating system is actively engaged, providing warmth․ Conversely, a snowflake icon signifies cooling mode activation, though this model primarily controls heating․
Other indicators include battery status, alerting users to low power levels, and system flags that may signal operational issues requiring attention․ The display clearly shows the set temperature and the current room temperature, allowing for easy monitoring and adjustment․ Refer to the installation manual for a complete icon glossary․
Button Functions and Operation
The Honeywell TH5220D1003 features intuitive button controls for simple operation․ The “Up” and “Down” buttons adjust the set temperature, displayed prominently on the screen․ The “Mode” button cycles through available heating options, typically “Heat” and “Off”․
Accessing installer setup, including Function 12 for system configuration, requires specific button sequences detailed in the installation manual․ These functions allow customization, but caution is advised, as incorrect settings can impact system performance․ Familiarize yourself with each button’s purpose for optimal control․
Temperature Adjustment
The TH5220D1003 allows for precise temperature control using the “Up” and “Down” buttons on the thermostat’s faceplate; Each press adjusts the setpoint by one degree, displayed clearly on the digital screen․
If inaccurate readings occur, the installation manual details a temperature calibration procedure within the installer setup (Function codes)․ This ensures the thermostat accurately reflects the room’s temperature, optimizing comfort and energy efficiency․ Regular checks and calibration maintain optimal performance․
Operating the Thermostat
The TH5220D1003 operates in Heat mode, controlled via manual or auto changeover settings, configurable through Function 12 in installer setup․
Cool mode is unavailable; the system setting cannot be changed to Cool, as detailed in available installation guides․
Setting the Heat Mode
To activate heating with the Honeywell TH5220D1003, ensure the system is configured for heating within the installer setup (Function 12)․ The thermostat will then respond to temperature settings, initiating heat when the room temperature falls below the setpoint․
Users can adjust the desired temperature using the up and down buttons on the thermostat’s faceplate․ The display will clearly indicate when the heating system is actively running, providing visual confirmation of operation․ Proper function relies on correct wiring and initial configuration․
Manual vs․ Auto Changeover
The Honeywell TH5220D1003 offers both manual and auto changeover options, configurable via Function 12 in the installer setup․ Manual changeover requires the user to manually switch between heating and cooling modes․ Auto changeover, however, automatically adjusts based on temperature demands․
Importantly, the TH5220D1003 cannot be configured for a cooling system; Function 12 only allows selection between manual or auto for heating․ Verify correct setting for optimal performance․
Troubleshooting Common Issues
Common problems with the TH5220D1003 include power failures, incorrect temperature readings, and system unresponsiveness․ Consult the installation manual for diagnostic steps․
Ensure proper wiring and power supply before attempting further troubleshooting or contacting Honeywell support for assistance․
Thermostat Not Powering On
If the TH5220D1003 fails to power on, first verify the HVAC system’s power switch is on and the circuit breaker hasn’t tripped․
Double-check all wiring connections at the thermostat and the furnace control board, referencing the wiring diagram in the installation manual․
Confirm the ‘C’ wire (common wire) is securely connected, as this is essential for providing continuous power․ A missing or loose ‘C’ wire is a frequent cause․
Inspect the batteries (if applicable) and replace them if necessary․ If issues persist, consult a qualified HVAC technician․
Incorrect Temperature Readings
If the TH5220D1003 displays inaccurate temperatures, begin by ensuring the thermostat isn’t exposed to direct sunlight, drafts, or heat sources․
Refer to the installation manual for temperature calibration instructions, utilizing the installer setup function codes․
Verify the thermostat is mounted on an interior wall, away from external influences․
Consider a professional HVAC technician if calibration doesn’t resolve the issue, as internal sensor malfunction may require replacement or further diagnosis․
System Not Responding to Thermostat
When the TH5220D1003 fails to control the heating system, first confirm power is consistently supplied to both the thermostat and the HVAC unit․
Double-check all wiring connections, referencing the detailed wiring diagram in the installation manual, ensuring secure and correct placement․
Verify the system type configuration (Function 12) is accurately set for your specific heating setup․
If issues persist, consult a qualified technician to diagnose potential problems within the HVAC system itself․
Advanced Settings and Features
The TH5220D1003 offers installer setup via function codes, including Function 12 for system settings, and allows for temperature calibration adjustments․
These advanced features require technical expertise and are best configured by a qualified HVAC professional․
Installer Setup (Function Codes)
The Honeywell TH5220D1003 utilizes function codes for advanced configuration, accessible to qualified technicians․ Function 12, specifically, controls the system setting, allowing selection between manual and auto changeover modes․
It’s crucial to note that the system setting cannot be changed to “Cool” using these function codes․ Accessing and modifying these settings requires a thorough understanding of the thermostat’s programming and HVAC system compatibility․
Incorrect adjustments can impact system performance, so professional expertise is highly recommended when utilizing these installer features․
Change Installer Setup (Function 12)
Function 12 on the Honeywell TH5220D1003 thermostat directly manages the system setting, dictating how the thermostat handles changeover between heating and cooling—or, in this model’s case, primarily heating․
Technicians can utilize this function to select either “Manual” or “Auto” changeover․ However, a critical limitation exists: the system setting cannot be altered to the “Cool” mode through Function 12․
Careful consideration of the HVAC system’s configuration is vital before modifying this setting to ensure optimal and intended operation․
Temperature Calibration
The Honeywell TH5220D1003 thermostat allows for temperature calibration, enabling adjustments to align the displayed temperature with a known accurate reference point․ This feature is crucial if discrepancies arise between the thermostat’s reading and a verified thermometer․
Calibration ensures precise temperature control and user comfort․ While specific calibration procedures aren’t extensively detailed in readily available summaries, accessing the full installation manual is essential․
Proper calibration guarantees the heating system operates efficiently and maintains the desired indoor climate accurately․

Wiring Material Specifications
All wiring utilized with the Honeywell TH5220D1003 must possess a minimum temperature rating of 105°C, as specified in installation guidelines for safety․
Approved wiring types are essential for reliable operation and adherence to safety standards․
Minimum Temperature Rating (105C)
Crucially, the Honeywell TH5220D1003 thermostat installation mandates the use of wiring materials rated for a minimum temperature of 105°C․ This specification isn’t merely a recommendation; it’s a fundamental safety requirement outlined in the official installation manuals․
Employing wiring with a lower temperature rating poses a significant fire hazard and can compromise the thermostat’s functionality․ Adherence to this standard ensures long-term reliability and protects your HVAC system and home․
Always verify the temperature rating printed on the wire insulation before installation․
Approved Wiring Types
Regarding wiring for the Honeywell TH5220D1003 thermostat, the installation manual doesn’t explicitly list specific brand names, but emphasizes adherence to the 105°C temperature rating․ Commonly accepted wiring types include THHN, THWN, and similar UL-listed thermostat wires․
These wires are designed to withstand the heat generated during HVAC system operation and provide a safe, reliable connection․ Avoid using solid-core wire, as it’s prone to breakage․
Always consult local electrical codes for compliance․
User Agreement and Warranty Information
The Honeywell TH5220D1003 installation includes a user agreement outlining terms and conditions․ Warranty details cover defects, ensuring product reliability and customer satisfaction․
Terms and Conditions
The use of the Honeywell TH5220D1003 installation manual signifies agreement to its terms․ Honeywell isn’t liable for issues arising from improper installation, emphasizing the need for a qualified technician․
This manual is for informational purposes only and doesn’t constitute a warranty beyond the standard product guarantee․ Modifications or unauthorized repairs void any coverage․
Users assume responsibility for adhering to all local codes and safety regulations during installation and operation․ Honeywell reserves the right to update the manual without prior notice․
Warranty Coverage Details
Honeywell’s warranty for the TH5220D1003 thermostat covers defects in materials and workmanship for a specified period from the date of purchase․ This warranty is void if the product is misused, altered, or improperly installed – reinforcing the need for professional setup․
Coverage typically includes repair or replacement of the defective unit, at Honeywell’s discretion․ Damage due to external causes, like power surges, isn’t covered․
Proof of purchase is required for all warranty claims․ Refer to the official Honeywell documentation for complete details and claim procedures․

Resources and Support
Honeywell provides extensive support through its official website, offering downloadable manuals and FAQs for the TH5220D1003․
Direct customer service contact options are also available for personalized assistance with installation or operation questions․
Honeywell Support Website
The official Honeywell support website serves as a central hub for all TH5220D1003 resources․ Users can readily access and download the complete installation manual in PDF format, ensuring they have the latest guidance at their fingertips․
Beyond the manual, the website features a comprehensive FAQ section addressing common installation and troubleshooting queries․ Detailed product information, including specifications and compatibility details, is also readily available;
Furthermore, Honeywell often provides helpful videos demonstrating key installation steps, offering a visual aid to complement the written instructions․ This digital resource ensures a smooth and informed experience․
Contacting Customer Service
For direct assistance with your Honeywell TH5220D1003 thermostat, reaching out to their customer service team is a valuable option․ While the installation manual provides extensive guidance, personalized support can address unique situations․
Honeywell offers multiple contact channels, including a dedicated phone line for technical support and an online contact form for submitting inquiries․ Be prepared to provide your thermostat model number for efficient assistance․
Their representatives can clarify wiring diagrams, troubleshoot operational issues, and guide you through the configuration process, ensuring a successful installation․